It's 2019 and most people are "sun smart" and therefore avoid harmful sun-baking…because of this, the good old fake tan has become increasingly popular!!! This is true for most of my clients, especially my brides and their bridal parties.The advice I give all my brides is to have a "fake tan trial" at least a few weeks prior to the wedding to make sure you love the colour you end up with on your big day. Most of them do adhere to this advice, thankfully! Unfortunately, however, there is still a minority that end up with a fake tan that is not ideal. Too green…. too orange… streaky… patchy… dirty… smelly….. uneven!
Before the 2019 spring wedding season started, I decided that I was going to find the perfect fake tan to recommend to all my brides. Something that wasn't smelly, that wouldn't transfer onto their gowns, and importantly one that was even and natural looking with no sign or green or orange anywhere!!!!
I did my research. I spent hours reading online reviews and looking at "real life" photos from customers.
I discovered Byron Bay Bronze and didn't find one single bad review… so it had to be good, right?
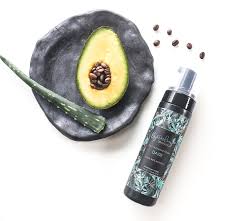
Byron Bay Bronze's natural and organic ingredients are sustainably sourced and their products are NOT tested on animals. Their tanning products are odourless, easy to apply, and will not stain your sheets or clothes. Their packaging is made from ocean waste plastic and $1 from the sale of every bottle is donated to charities that help enhance our planet.
I purchased two bottles of dark tanning foam, a luxury microfibre tanning mit, and of course a bamboo exfoliating glove so I could prepare my body properly before applying the tan. You can purchase all these online directly from https://byronbaybronze.com.au/
Now, I don't have much experience in fake tanning as I have always been "turned off" by the bad tans I've seen over the years… but I knew I had to try it for myself before I could recommend the product to anyone.


The first thing I noticed when applying the tan was the "instant" colour! I looked tanned instanty! There was also no smell and the product dried immediately. I slept in it overnight on my WHITE sheets, and there was zero transferance. Not even a single stain on my clothing. A quick rinse in the morning and voila! I looked like I had spent a couple of days tanning at the beach! I was so impressed that I decided to go even darker so I re-applied the following evening.
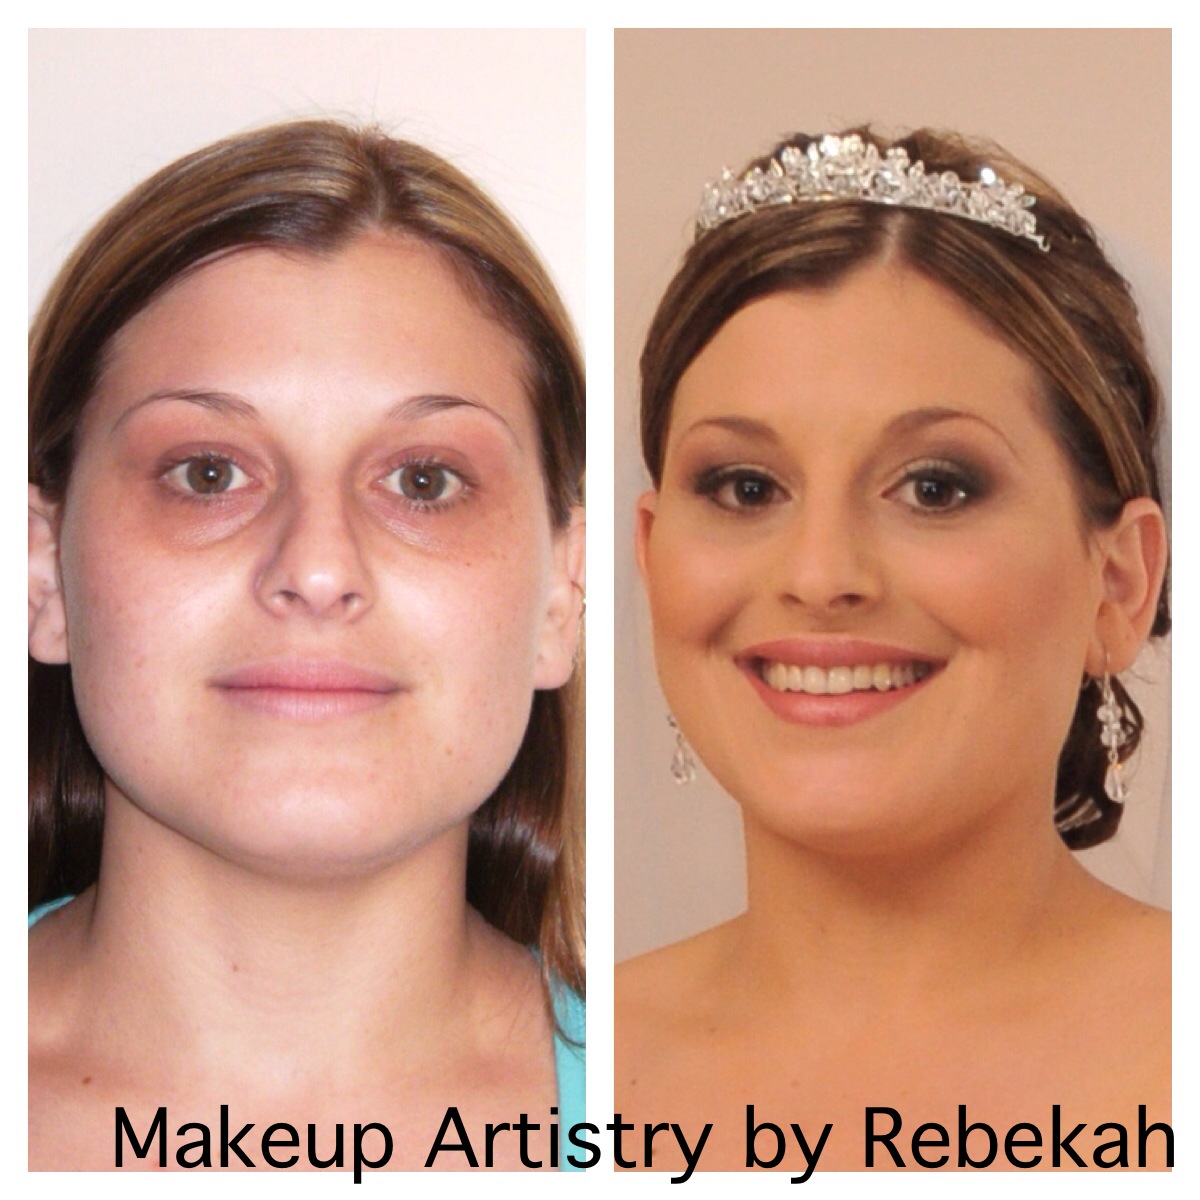
The results – a very natural looking tan with NOT A SINGLE TINGE OF GREEN OR ORANGE! It went on evenly, my hands, feet, elbows and knees look evenly tanned and there are no dirty patches anywhere! I have converted! I am no longer afraid of the fake tan and know that I will be using Byron Bay Bronze fake tan regularly. I cannot recommend this product enough.
This is NOT a sponsored post, and I purchased these products myself.
Rebekah Foxe
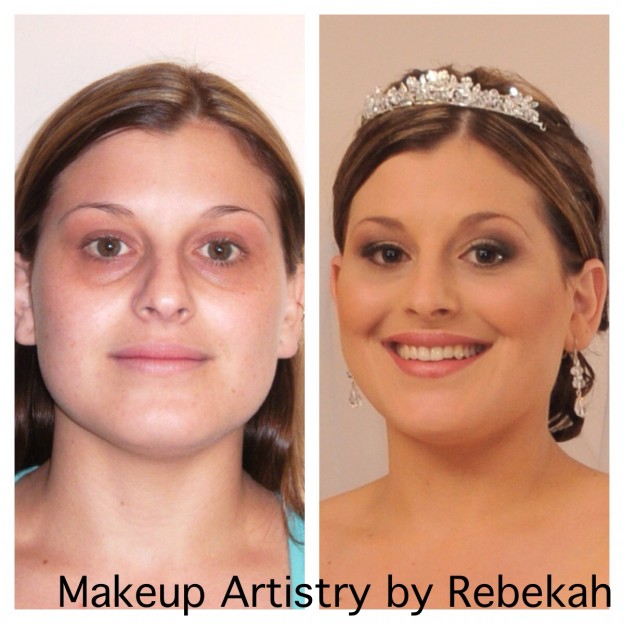
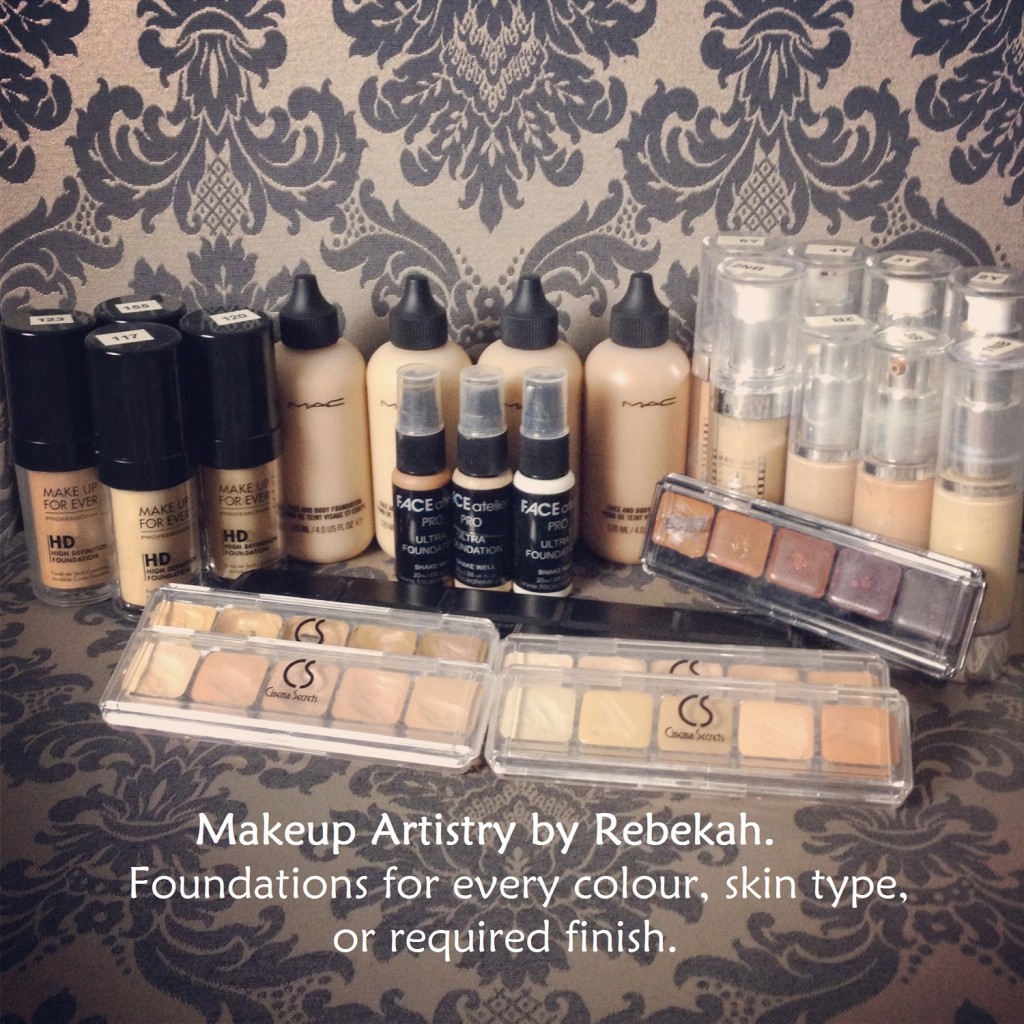
Makeup Artistry by Rebekah